Thursday, 22 October 2015

USATC S160: Cab, Part 1


So after deciding to do the lighting for the S160 next, we then changed our minds and started the cab instead!

Here we see the basic outlining of the cab and backhead.


Next we built the original style firebox door with shroud, fitted all of the control taps to the roof and added the basic window shapes.


After this the original lever reverser was built, along with the water taps (each side next to the seats), an alternate fireman's seat (a tool crate.. which we accidentally rendered with the seat still in place as well!) and the tap on a long rod that sticks out to the right hand of the cab - more on this in a moment.


The next task was to make the various gauge glasses - a vital piece of equipment for making sure the boiler has enough water. The S160 originally came with a single USA style gauge glass although some were later fitted with a second glass in case of failure.


After the war many S160's had generators fitted and this allowed them to have electric cab lights as well as locomotive lights. This is a soviet added lamp for the single gauge glass.


Some S160's were later fitted with UK style glasses, especially in preservation, and again these were fitted as singles or as a pair.


It has been stated that the original gauge glasses fitted to S160's were poorly made and were responsible for causing some boiler explosions, however this is not true.
The problem was actually caused by the odd placement of the top shut off valve for the gauge glass. We'd read about this during our research but it wasn't until we built the components that it made sense.


As you can see, the top shut off for the glass is operated by use of that tap we saw earlier on the right hand side of the cab, via a universal joint and a very long rod.
Looking at it from this angle it's very clear how the tap is connected, however we took the roof off to take this picture! In reality, with the joint being behind the large board holding all of the control taps it's really unclear to the footplate crew as to what this tap sticking out at an angle is for. And this is how the tragic boiler explosions occurred - crews who had little time for training (there being a war on) turned this tap without realising that they had closed off the gauge glasses top exit, thereby creating a vacuum and causing the glass to report incorrectly.


There is still plenty of modelling to do on the cab for all of the basic fittings, and then of course we have lots of options which include regulators, reversers and 3 different types of brake controls.

Friday, 9 October 2015

USATC S160: Tender, part 2

Last time looking at the S160 we saw the start of the tender model and this time we complete it with the cab facing. And like everything on the S160, it's all about the options!

So here we see the original S160 tender design with 5 planks to hold back the almost 8 ton mound of coal. Also seen on the left hand side is the chain operated handbrake - which wasn't originally fitted to the first few members shipped to the UK but was requested to be fitted after a few incidents of locomotives rolling away when on shed!


Later some of the tenders had the top plank removed and a hood fitted to try and stop rain and coal from entering the cab when running the locomotive tender first. Also some were fitted with a bar for the handbrake rather than a wheel.


The tenders that originally came without handbrakes (and some that did!) often had UK style handbrake columns added as can be seen here. There are also 2 other options in this image; the Soviets and Poles decided that the near 8 tons of coal wasn't sufficient and so they often added 2 layers of planking to increase the height that the coal could be loaded to. We've also seen images of Polish tenders where they have added 2 rods either side of the tender allowing them to open the rear water filling hatches without having to leave the cab - very inventive!


Finally a post-war rebuilt tender face where the works crew have really gone to town. A facing has been created with a coal chute and doors, the handbrake wheel has been moved to accommodate this and a storage cupboard has been added for those all important tools... and lunch and tea cans!


The options for the tenders will not be limited to the images shown above but will be a pick-and-mix style where you can choose how you want the tender to be set up, obviously with limits on compatible parts.

The next task on the list is to create all of the different styles of lights and lamps, so that should be illuminating!
*groan* I know, sorry :-)

Friday, 2 October 2015

Future DLC Announcement and a Poll

So the time has come to announce our intentions for next year.
The USATC S160 will be the next release, but after that we will be starting on a new schedule of building, which currently looks like this:

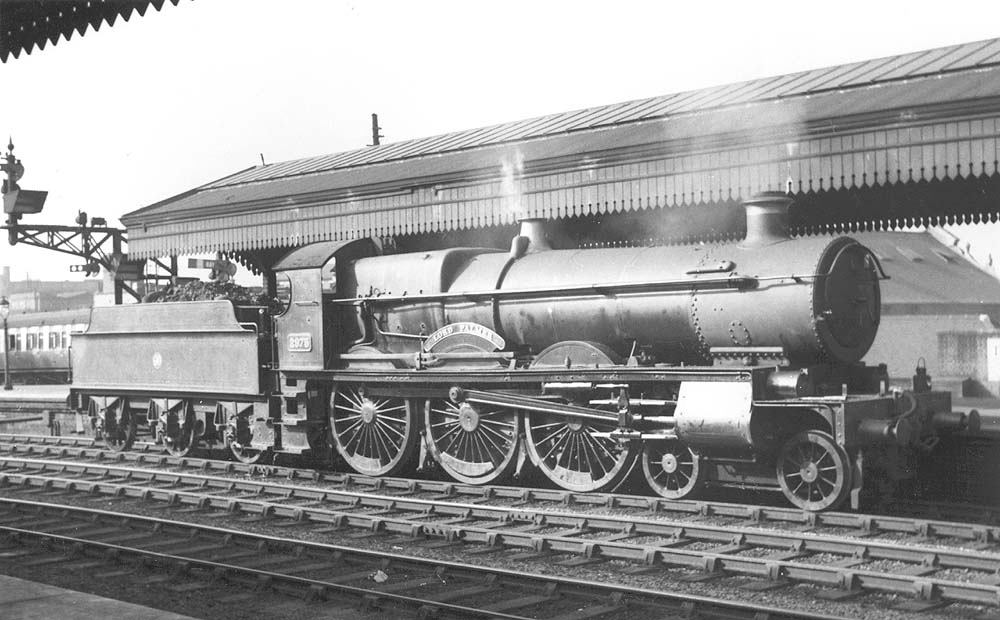
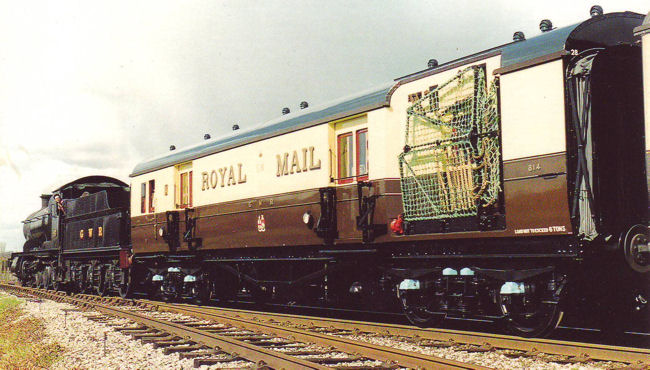
GWR Saint 4-6-0 with working TPO (Travelling Post Office)
https://en.wikipedia.org/wiki/GWR_2900_Class

If it all goes to plan, you will be able to pick up and drop off mail just like this!

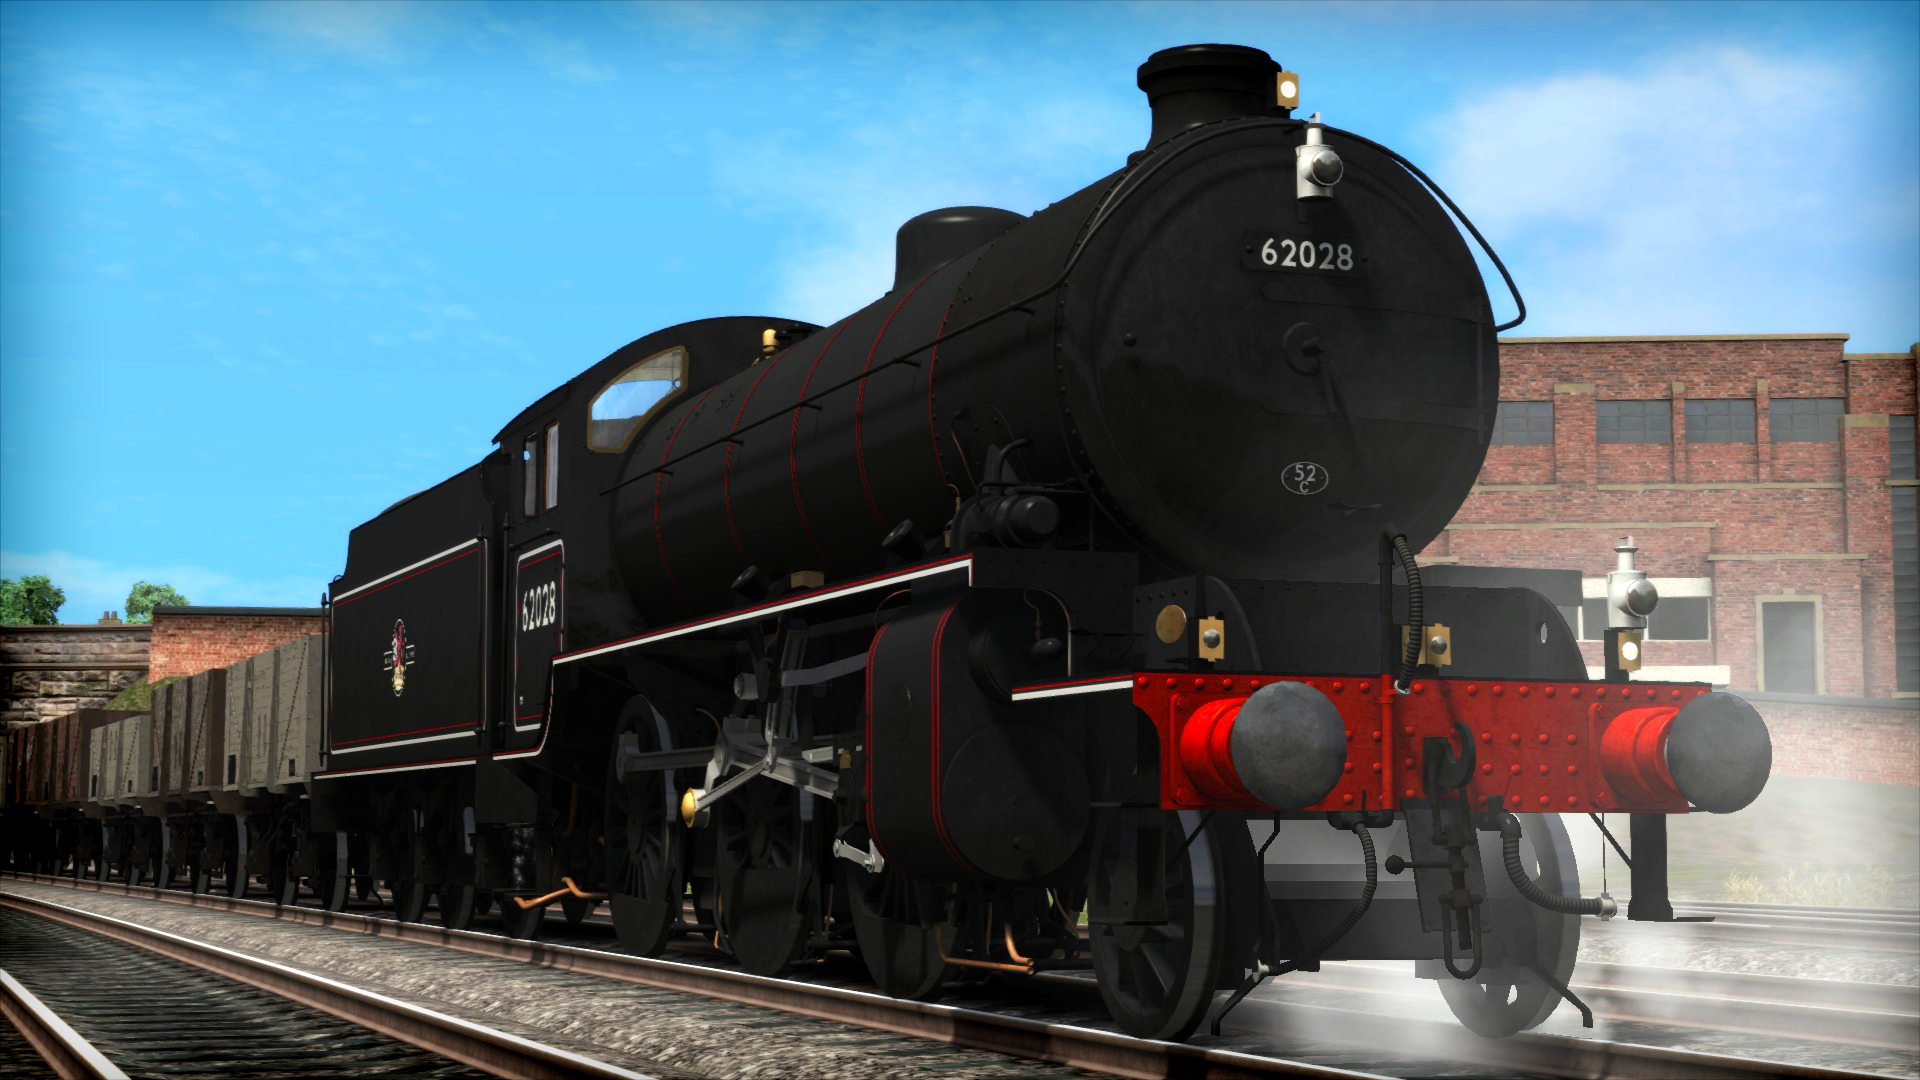
LNER J21 0-6-0
https://en.wikipedia.org/wiki/NER_Class_C1

GWR 42xx 2-8-0T
https://en.wikipedia.org/wiki/GWR_4200_Class

LB&SCR A1 Terrier 0-6-0T
https://en.wikipedia.org/wiki/LB%26SCR_A1_class


Obviously situations can change but this is the DLC that we hope to produce over the next year.


We would also appreciate your feedback at this time on how we publish DLC in the future.
Lately we have been thinking over the ups and downs of using DTG/Steam and would appreciate feedback from customers on how you would like to buy from us going forwards.

It really boils down to continuing to use Steam or to change to being able to buy directly (either from us or from an established DLC provider).

The advantages of Steam are:
Purchases and re-downloading are integrated with Train Simulator
DLC can be included in Workshop scenarios

The advantages of direct purchase are:
Much shorter QA times (releases could be up to 6 weeks sooner than they are currently)
No restriction on scenario types (Steam DLC is only allowed to come with career scenarios and only for 1 route which must also be on Steam)
Updates and fixes can be made and sent out within days rather than months (or at all!), as can additions and improvements
Joining forces with another DLC provider has the potential to create even better products

So with that in mind, if you would like to fill out this simple poll we would really appreciate it, thank you
[This poll is now closed - thank you for your responses]

Friday, 25 September 2015

USATC S160: Tender

We're a bit short on time this week for long explanations, but the WIP images speak for themselves really as we have started to build the tender base model - as with the loco, there are quite a few variations of tender components and modifications.

Bogies

Creating the basic shape

Top starts to come together - despite looking quite simple it was surprisingly hard to model correctly

Adding detailing to the water lids and the tool box

Brackets, handles and the ladder. As with the loco there will be 3 coupling types and vacuum or air hoses, shown here are the air hoses with a USSR Wilson coupling

Front view

Work will continue with the tender, detailing the front end and creating the fittings and modifications.

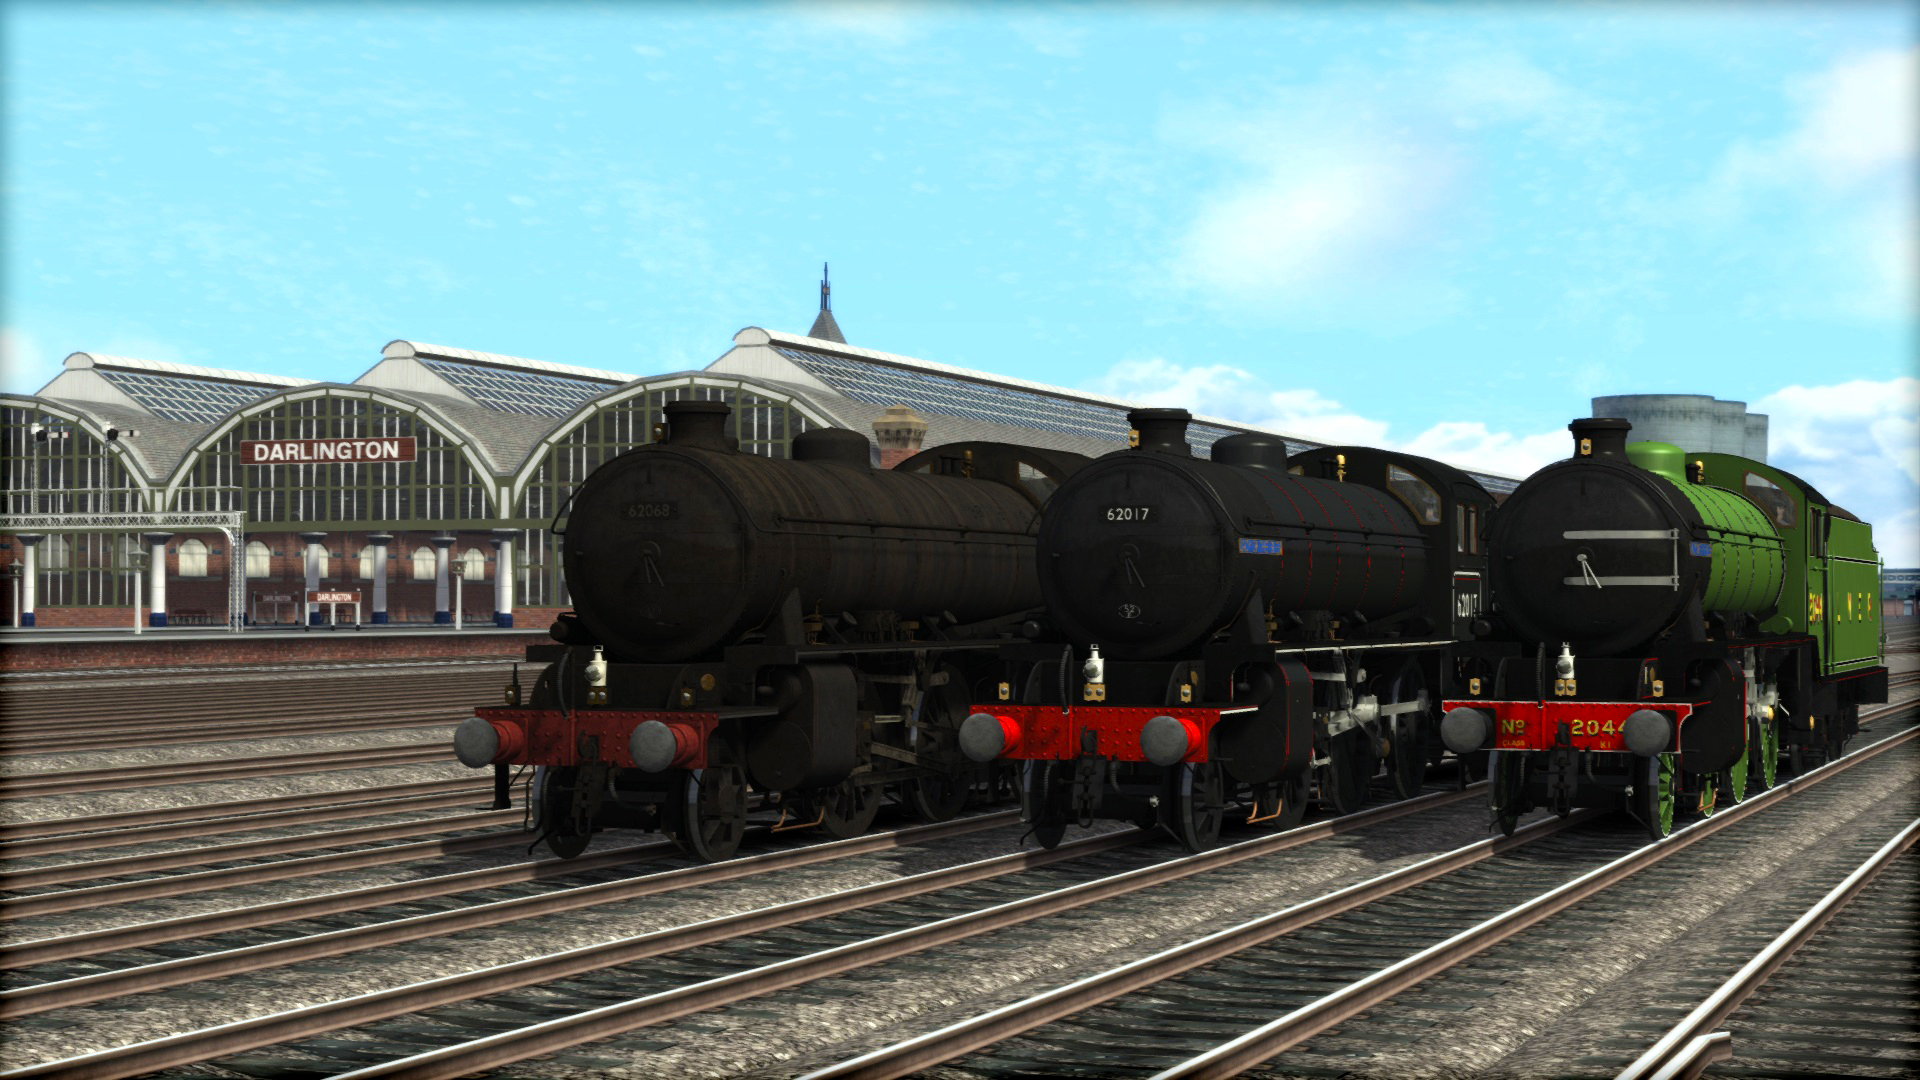
Next week we are expecting the Peppercorn K1 to be released on Steam and on the Friday blog we plan to unveil our intended release line up for 2016!

In the meantime do take advantage of the sale prices on all of our existing DLC
http://store.steampowered.com/search/?developer=Victory%20Works

Wednesday, 23 September 2015

DLC on Sale!


It's sale time again for Train Simulator on Steam and all of Victory Works add-ons are included with 40% off until 30th September.
Click on any picture below to go to the Steam page, or click here to see all Victory Works DLC on Steam.


Friday, 18 September 2015

USATC S160: Snow and Electricity

Continuing on from last time, we have a few more options to show today.

First of all, the Alaska Railroad's variant which due to their inclement weather has a dirty great snow plough on the front. Also seen on this is the alternative location for the brake air compressor, mounted on the front plate rather than on the front of the smokebox.


Originally the S160's were not fitted with any kind of electrical equipment (and therefore no need for a generator) however these were added to many of them at the end of, or after, the war.
And just to make it fun for digital modellers in the future, the countries and localities all used different types and mounted them in different places!
We can't produce all of them, but here are half a dozen of the more common types/locations that will be available...

Top left of the firebox

In front of the chimney.

Behind the chimney (also seen here is the US specific option for a bell, and a taller chimney design).

Twin generators in front of the manifold (again a US bell can be seen, this time behind the sand box, and also an alternate whistle).
Note: We did forget to activate one of the 3 available types of safety valves when rendering this image *blush*

On the left hand running board, almost alongside the smokebox.

And finally on the right hand running board just in front of the cab.

We're not finished with options yet but it's about time to start something a little larger, so next time we hope to be able to show some images of the tender in progress.