Friday 24 November 2017

Raven (LNER) Q6: Cab WIP

Today we move on to the cab model of the Q6.

Starting with a basic shell we fill in the basic backhead components to help scale everything correctly, along with laying over the plan diagrams.


The main shell has these rather stylish seats/footboards added and the rest of the components start to go into place. This render was taken at the end of a days work and contains a text object on the right hand side reminding us to add a specific item next time we start modelling - just one of the techniques we use alongside todo lists to make sure no element is forgotten.


The left hand side front sander lever mechanism has been added along with the cylinder cocks lever on the right hand side. In addition behind the vacuum brake pedestal the steam reverser lever can just be seen.
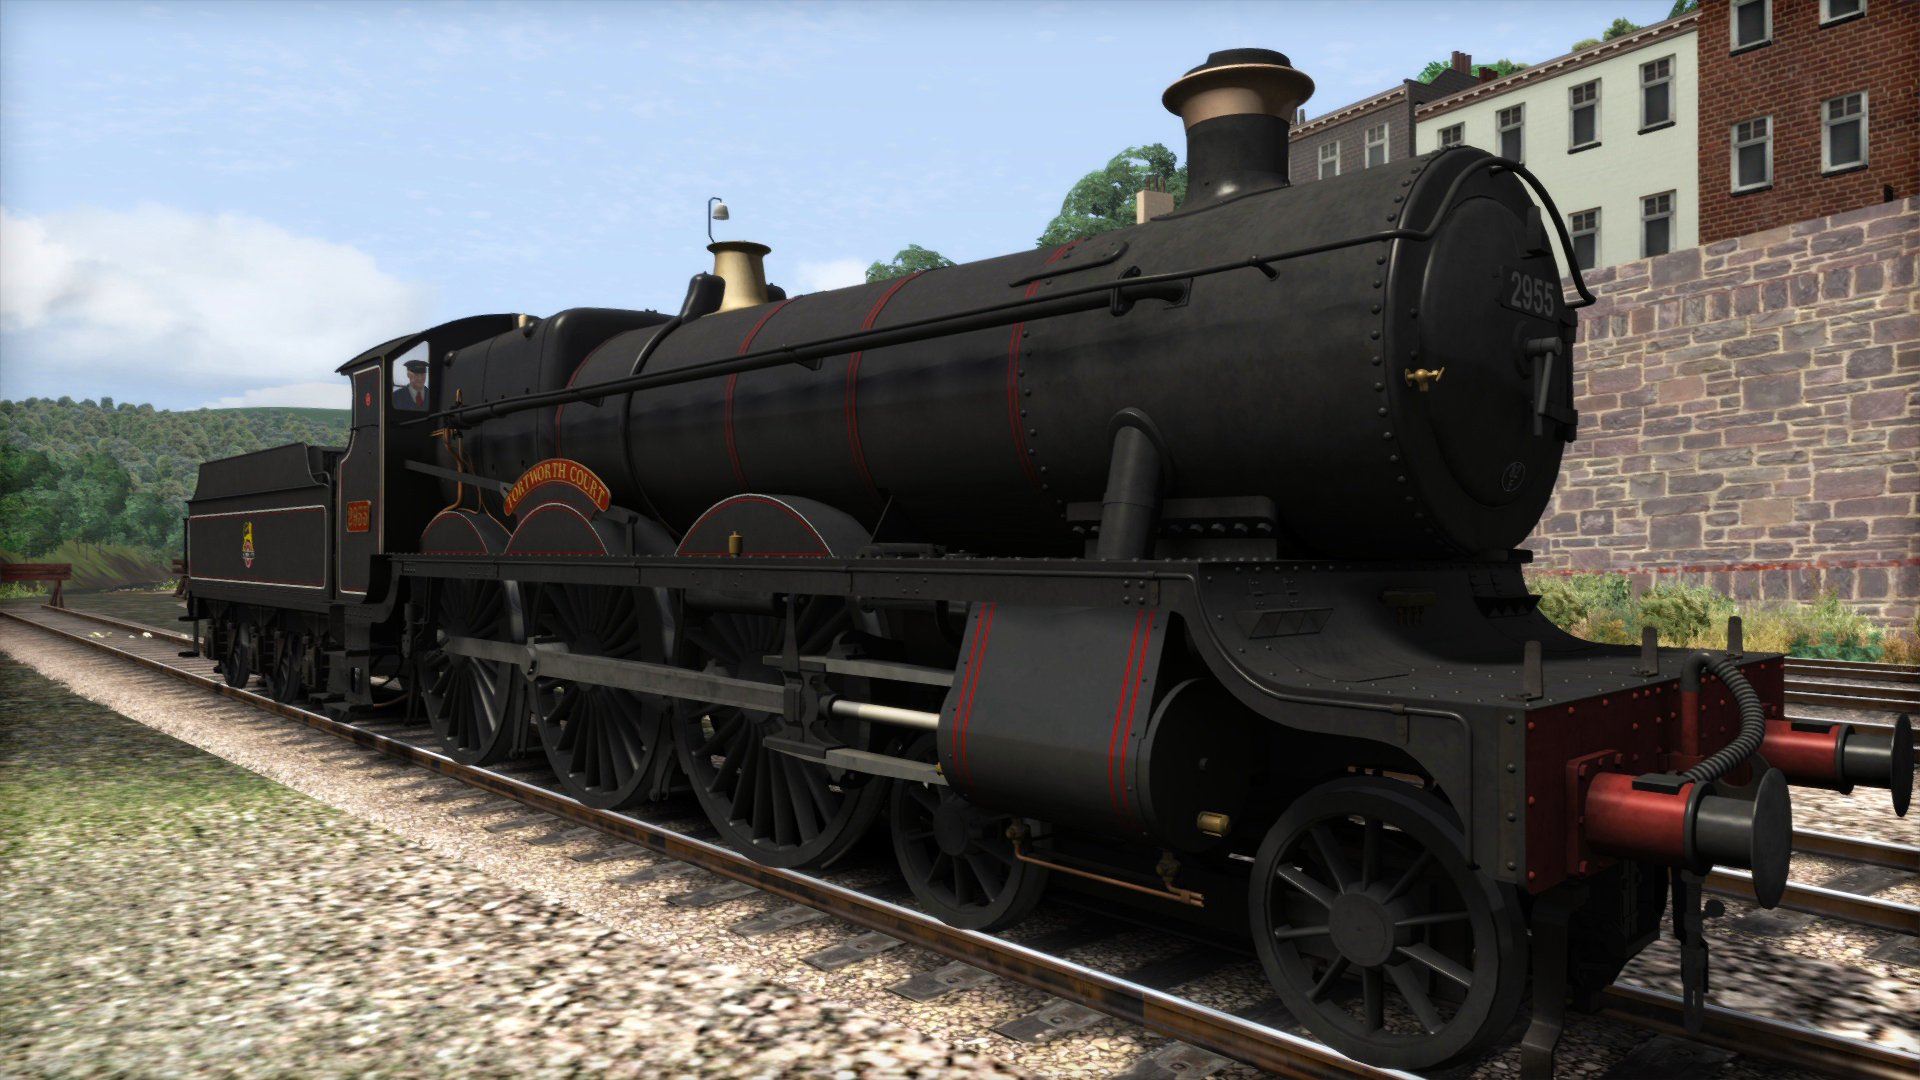
Although these images show the steam heat dial (the left most of the two left hand dials) this will be removed for all liveries prior to preservation as Q6's were not designed for passenger duties and had no steam heat fitted until the 70's.


Next week we will have the cab finished and then it will be time to move on to the tender.

Wednesday 22 November 2017

Sale Time, again!

It's sale time, again! Lots of good discounts on our products in the Steam store from now until 28th November.

Click this link to see all of our DLC on Steam or click on an image below to view a particular DLC.

Stroudley A1/A1X Class 'Terrier' - 30% off


GWR Saint Class & Travelling Post Office - 30% off


BR Saint & Travelling Post Office Livery (Marketplace - requires GWR Saint Pack) - 50% off


USATC S160 - 30% off


GWR 14xx - 30% off


LNER Peppercorn K1 - 50% off


GWR Small Prairies - 30% off


GWR 56xx - 50% off


GT3 Gas Turbine Prototype - 50% off


GWR Steam Railmotor - 50% off


Southern Bulleid Q1 - 50% off

Friday 10 November 2017

Raven (LNER) Q6: Model WIP

This week we are continuing with work in progress images of the Raven Q6 model.

Adding the smokebox door, buffers, chimney, dome and smaller items such as the whistle, safety valves and washout plugs and she starts to look more like an actual locomotive.


Adding the rear steps and brake gear finishes the larger parts and then we begin to work on the small details like handrails, rivets and pipework.


Once this is complete the boiler is hidden for a time so we can access inside the frames to model the steam reverser piston. Also the inner valve gear (with its prominent counter weights) is built and carefully connected as it will need to be animated along with the wheels and outer pistons later on.


A final going over to adjust part placement here and there and to add more details like the cab window surrounds and hand rails, the injectors behind the steps, and the locomotive's outer shell is complete.


Next week, work starts on the cab.

Friday 3 November 2017

Raven (LNER) Q6: First Look


Today we have the first modelling images of our next locomotive, the Raven Q6.

In the early part of the 20th century a large surge in mineral traffic required a power upgrade to the successful NER Q5 design so Sir Vincent Raven designed the Q6 using the best parts of the piston valve version of the Q5 and adding a larger boiler.
120 Q6s were built between 1913 and 1921 and the 0-8-0 tender freight engines were a huge success; described as strong and reliable, they gave service right up until the end of steam.
Initially allocated to sheds in the North East to haul coal from the collieries, under the LNER the Q6's ventured further afield including trips to Manchester via Woodhead Tunnel, and to Doncaster, and after 1930 they went north of the Tyne as well. In the 1940s, they went further south to Peterborough and March.

A common sight around Darlington and the surrounding area through their whole lives the Q6's will be a perfect heavy freight locomotive for the Weardale & Teesdale Network and many other Northern routes and also a popular choice for passenger services in preservation.

As usual, we begin modelling with the wheels, to assist with the scaling.. and because you need to start somewhere!


Then some basic filling out - the boiler and running plate allow us to place the distinctive sand boxes and splashers.


After adding some detail we look to the right hand side which has a mechanical lubricator, operated by a rod from the driving wheel.


Adding the frames, front buffer beam and a basic cab shape makes it start to look less like a mobile boiler and more like a locomotive!


Completing the piston, crosshead and slides means we should be able to drive somewhere when the times comes.


And that's everything for today, we'll be back with more modelling progress next week.